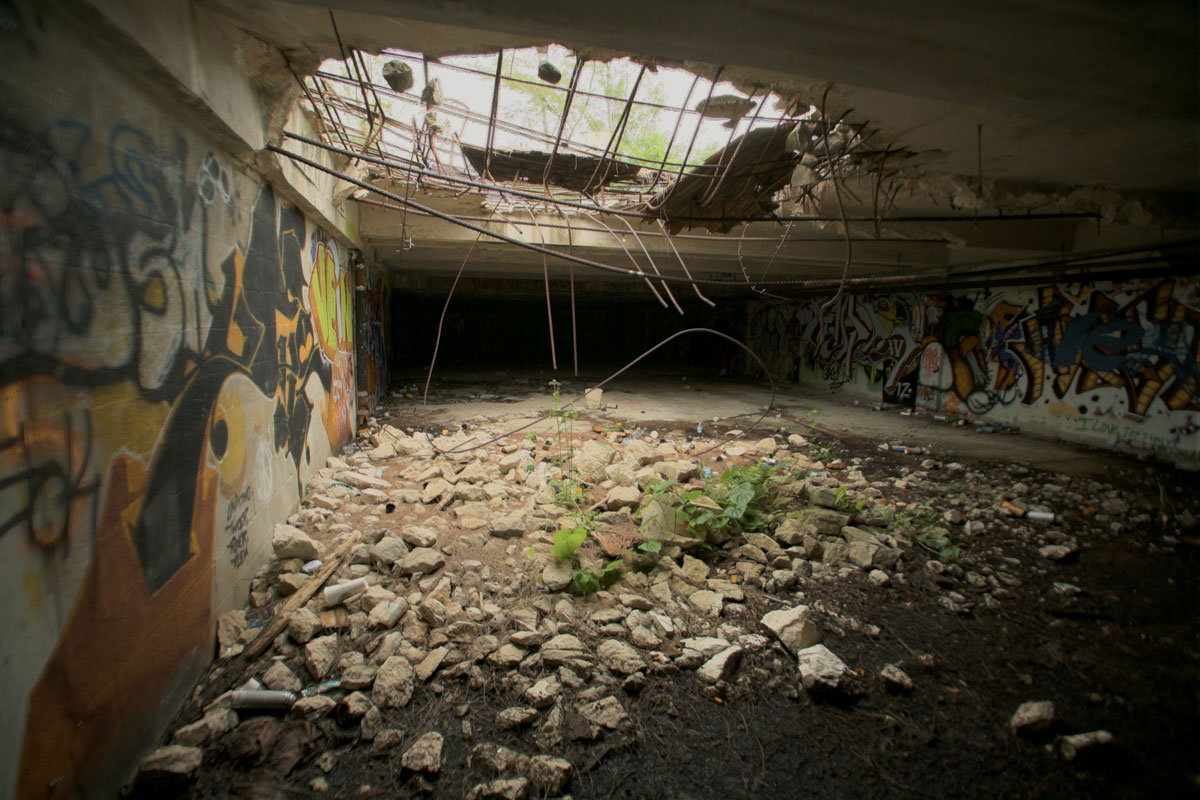
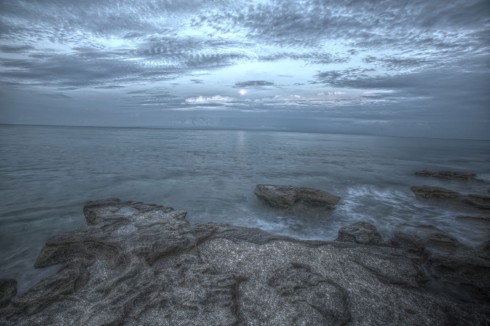
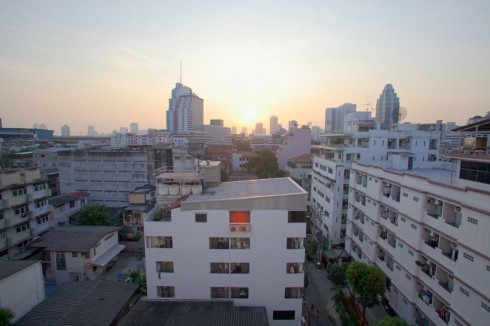
 Posted March 6, 2011 – Luminance, a free open source HDR software, will be the ninth HDR program to be tested and reviewed by Captain Kimo. I was looking forward to re-testing this particular HDR program since there was a lot of talk about it on the comment section of my original HDR software round up. I was hoping the developers updated the user interface to make it more convenient. They did to some degree, but the tone mapping process was still the same… it’s just not practical.
Operating System – Linux, MAC & Windows
Price – Free
Standalone/Plugin/Both – Standalone
Processing RAW files – Sort of
HDR from Single RAW – Yes
Overall Speed – Slow to Average
Visit Official Website – http://qtpfsgui.sourceforge.net
Go to Luminance Download Page
Looks like the new version of Luminance made it easier to install. I remember the version that I tested before required multiple installs before I was able to use the program, but the installation with this version was simple. Unfortunately there are still a number of bugs with this version… at least for Windows users.
Loading the exposure for creating a new HDR image in Luminance is done by simply clicking the new HDR image button. This will bring up the HDR Creation Wizard, click next to begin the process of loading your image. In the next window you’ll be able to load your exposure, it can be a single RAW file or multiple images. I didn’t have any luck with multiple RAW files, Luminance kept locking up on me. However I was able to load one RAW for creating a single exposure HDR photo.
Once I’ve loaded my image(s) I’m given the option to align my photos. The auto align option doesn’t seem to work but the Hugin’s align_image_stack works pretty well, this is the manual align options. Click next to begin manually aligning your exposures.
In the next window I have a few options to select. I believe this window allows me to set the merging method, not exactly sure. I left it at default assuming that will give me the best result. I click finish to have Luminance process and merge my images together.
I can begin tone mapping my HDR image once Luminance finsishes mergeing my exposure. I click the Tonemap HDR image button to begin tone mapping.
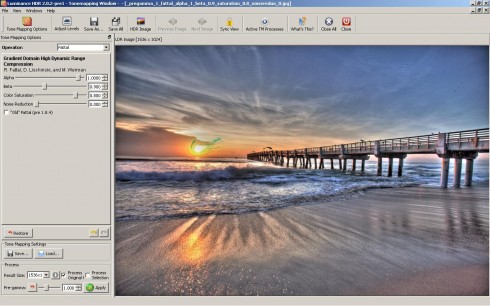
Tone mapping is where Luminance becomes inconvenient because to see a preview of the HDR image I have to constantly click the apply button. Luminance has no live preview… actually the preview image is the final image, so every time the apply button is clicked a new HDR image is created.
There is a total of nine tone mapping operators available. I believe each one was developed by a different person. Neither one are complicated, in fact one of the operators has only a single control function. You’ll have to play around with the tone mapping operators yourself. I just used the default options provided because I didn’t have the patients to keep clicking the apply button to see a new preview.
Note preview image is best kept small unless you want to wait for forever for each preview to render. Once you get the preview image you want you can then apply it to a large resolution preview. Also once the higher resolution preview is processed you can apply a level adjustments to that image by clicking the Adjust Levels button on the top menu. I didn’t notice this earlier, it would have been helpful on some of the images had I known.
After I’m done processing my high resolution file/preview for my final image, I can then save my image by clicking the Save as button. Note the highest resolution file that I was able to process was1536x1023 without Luminance crashing. I believe this is only an issue with Windows and not Linux.
Final verdict… Luminance has a lot of potential, but for Windows users looking for a free HDR software I recommend Fusion or Picturenaut. Nevertheless you should consider downloading this program anyways and checking it out. Maybe you might have better luck than I. As for me I’ll wait for the next version and give it another try.


