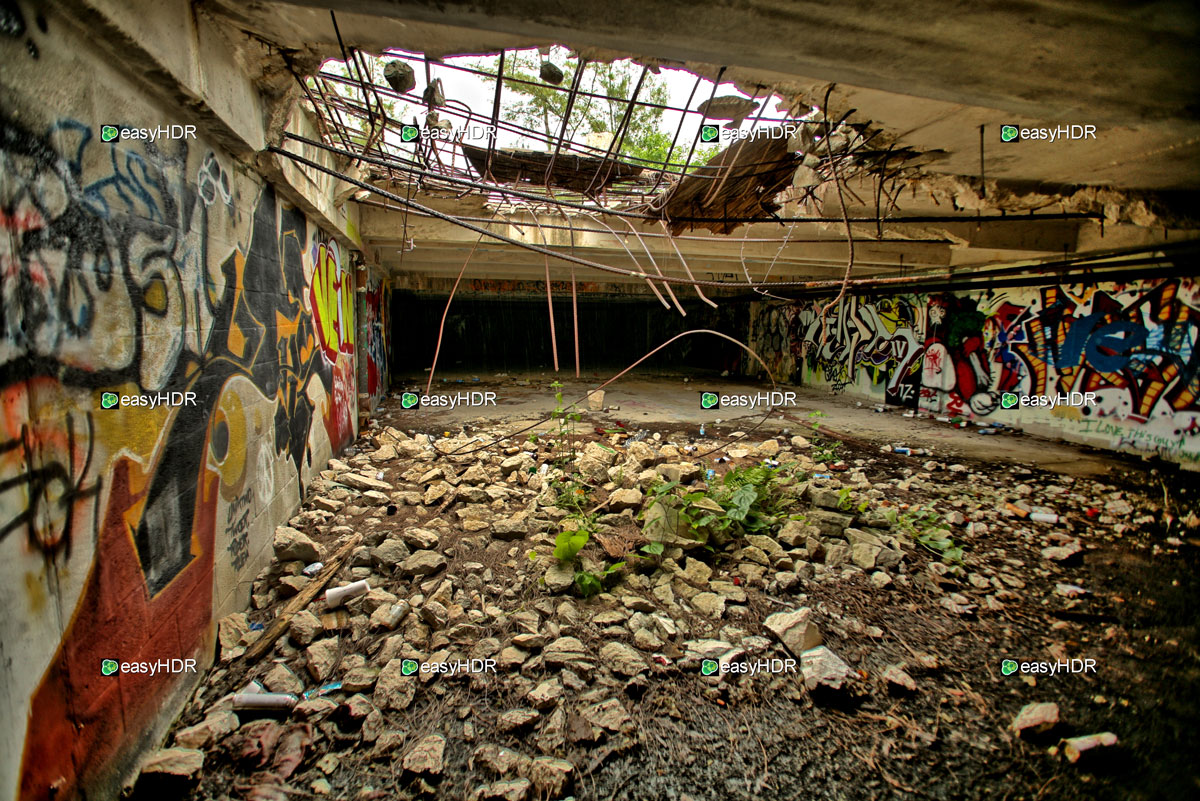
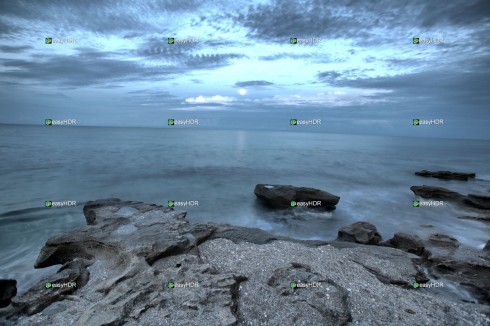
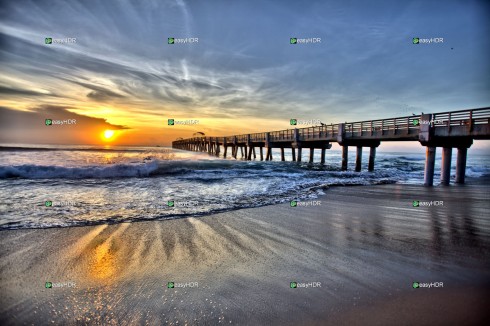
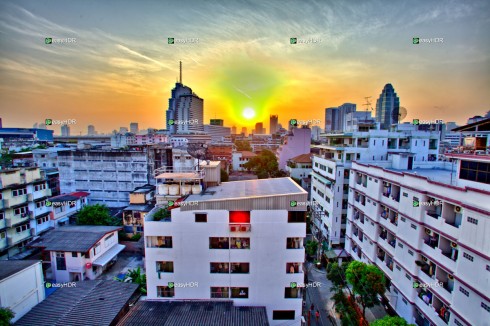
 Posted February 27, 2011 – easyHDR is the third HDR software on the list to be reviewed by Captain Kimo. So far it’s my favorite out of the three high dynamic range programs that I’ve tested. What makes it great is like the name implies, it’s easy. But it’s not without fault, I still feel that EasyHDR could simplify it’s process to make tone mapping and creating HDR images easier.
Operating System – Windows Only
Price – € 59.00
Standalone/Plugin/Both – Standalone
Processing RAW files – Yes
HDR from Single RAW – Yes
Overall Speed – Slow to Average
Visit Official Website – http://www.easyhdr.com
Go to easyHDR Download Page
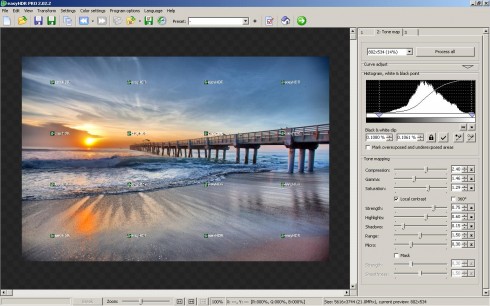
EasyHDR has a straight forward user interface, to proceed making an HDR image you’ll need to load your exposures. This is easily done by going to the number one tab and clicking the open button. Once the exposures have been loaded a window will automatically pop-up allowing you to align the images.
I’ll be honest, the easyHDR alignment window is a little awkward, but the other two HDR programs, Artizen HDR and DynamicPhoto HDR, were the same way. The reason I find easyHDR’s alignment window frustrating is the lack of intuitive controls, even the manual aligment option was hard to understand. I also didn’t like that I have to click another button after I align my photo to get to the tone mapping window. I’m guessing easyHDR assumes I’ll be doing something else other than tone mapping my photo. I wonder what that could be?
Something else frustrating about the program is that I have to remove my current exposure just to do a new set of exposures. The alternative is to restart easyHDR. Now in my opinion that’s very inconvenient. Of course this could be me and my lack of knowledge about this particular HDR program, but I promise you I did try to find an easier way.
After clicking the generate HDR button, I am taken to the tone mapping window automatically, which I like. (Anytime I don’t have to click a button to get somewhere I’m suppose to be, I like!) Once I get to the tone mapping menu I noticed that the alignment of my image is off in the preview area. Trying to zoom in on the preview window is almost pointless as it’s slower than I have patients for. So I ended up saving the file to take a look at it in Photoshop… and sure enough I was right, it wasn’t aligned properly. After a few minutes of playing around with the alignment tool again I was able to get EasyHDR to align the image correctly.
After getting the image aligned I proceeded to tone map the image. EasyHDR has a list of presets but no preview for the list to see a sample of the results. You’ll have to select each one and wait for it to render to see the results of each preset, very slow on my system.
As for the actual tone mapping functions, easyHDR has a good list of options for creating realistic or dynamic HDR photos. The one feature I like that easyHDR has is the Mask option, which is the last adjustment at the bottom of in the tone map tab. This feature allows me to adjust my highlights darker or my shadows brighter. It’s limited but it works well along side the other tone mapping options available.
There is one thing irritating about Easy HDR’s preview window for the tone map tab, that is I can’t pan around the photo using my mouse. Instead I’m limited to using the slider to view different areas of the image. I know this is a small inconvenience but something as small as this can greatly increase the productivity of the tone mapping process.
After clicking the process all button, I proceed to the next tab option available. The options available under this tab can be done in Photoshop with faster results. After playing around with some of the controls, I found it frustrating because I had to click either the preview button or the apply button to see my results. This tab would be a great feature if easyHDR had real-time preview while adjusting the controls. Otherwise if your image editing program has these options it’s probably best to adjust them there.
After tone mapping has been complete you can save your file as either a tif or jpg file format. The weird thing about easyHDR is that it states 24bit next to each file format. Oddly enough when I saved the file and opened it in Photoshop I found it to only be an 8bit file. So I’m not sure what that’s all about… maybe it’s because I’m using a trial version?
Out of the three HDR programs that I’ve tested so far, I really like the quality of the HDR image that easyHDR produces. I would recommend this program for anyone who has enough patients or a fast computer to handle the processing. I believe the images that this HDR program produces are worth the time.
