Chapter Three
of Captain Kimo’s HDR How-to Guide
Setting your camera to shoot HDR might seem daunting at first but I assure you it’s painless. Once you’ve done it a few times it becomes second hand. The trick is understanding how to adjust your exposure.
Exposure
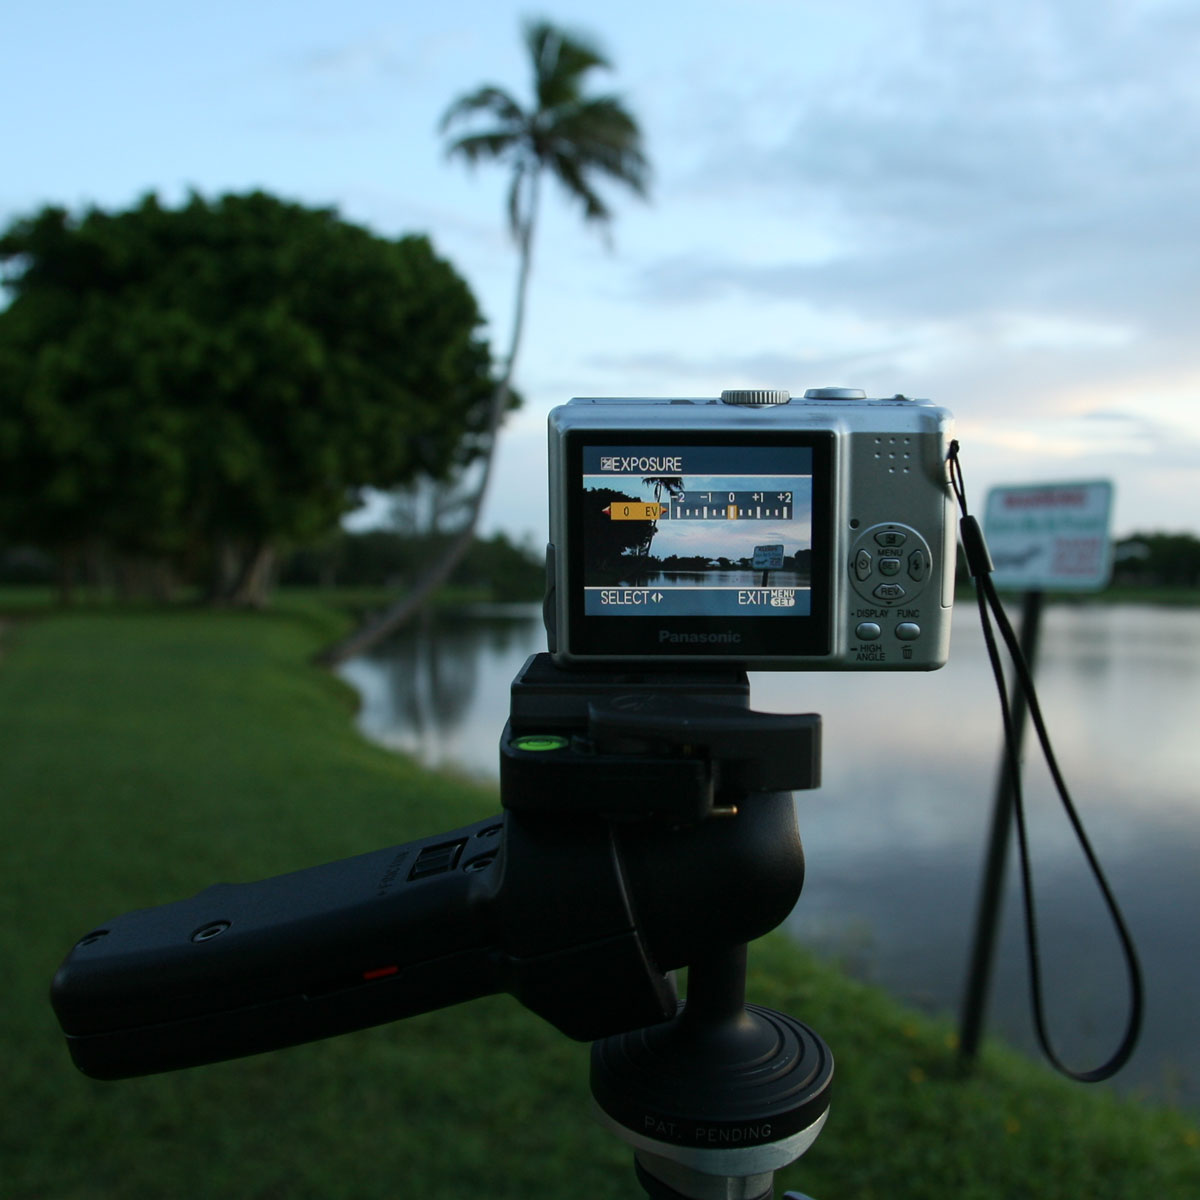
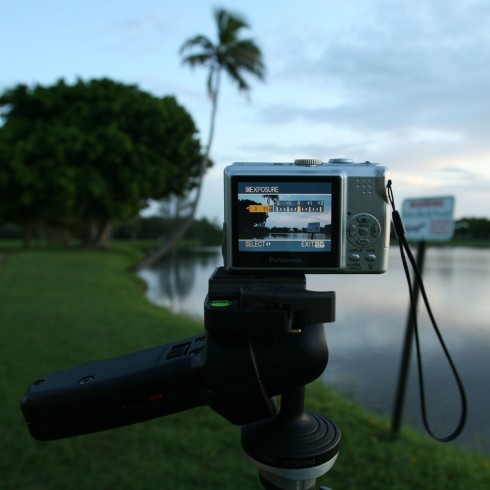
Your exposure will allow you to adjust how bright or dark your image is when photographed. Not all cameras will have this option. Check your camera’s user manual to see if this feature is available. Below is a image of what it might look like.
 |
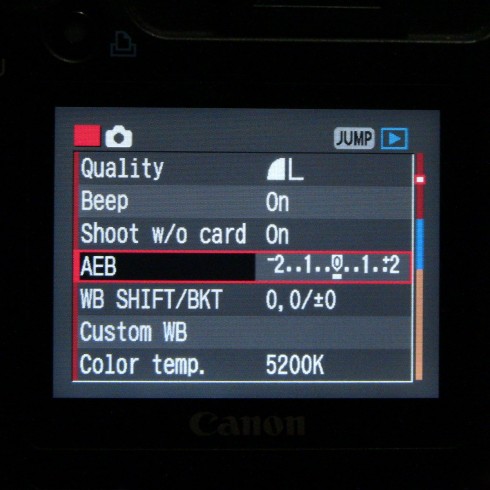 |
| Panasonic Lumix DMC-LS75 | Canon 5D Mark1 |
Most cameras are similar so you shouldn’t have much of a problem finding this feature. However there are a few cameras that are not so user friendly. If this is the case I recommend doing a Google search for your answer.
Once you’ve figured out how to adjust your exposure, you’re ready to shoot your HDR photo.
Go find yourself a beautiful scenery and capture all it’s splendor. My suggestion is to photograph a car with some clouds and sky in the background. This will make a good test subject because of multiple light sources being projected from different direction.
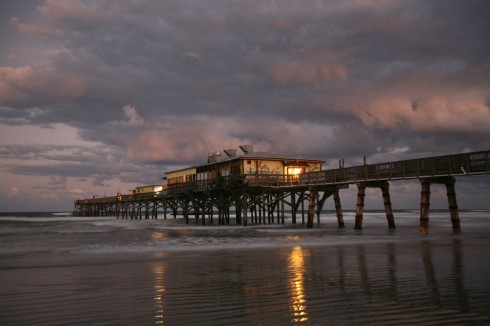
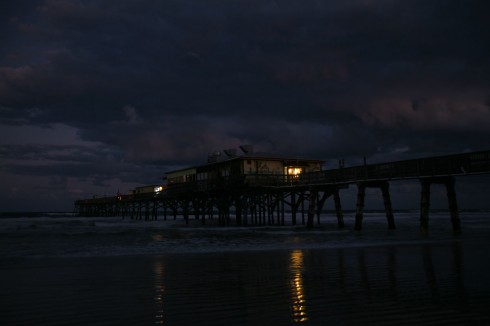
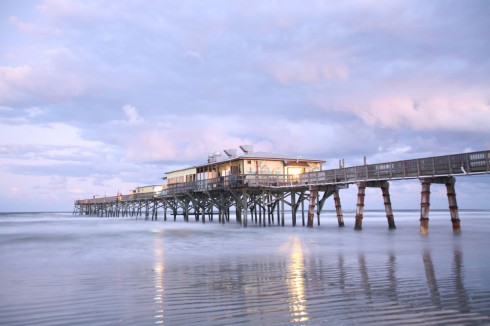
When you’ve decided what to shoot, you will need to take three pictures like the samples below.
Once you’re done, proceed to the next chapter to combine your exposure into one single HDR image using Photomatix.
