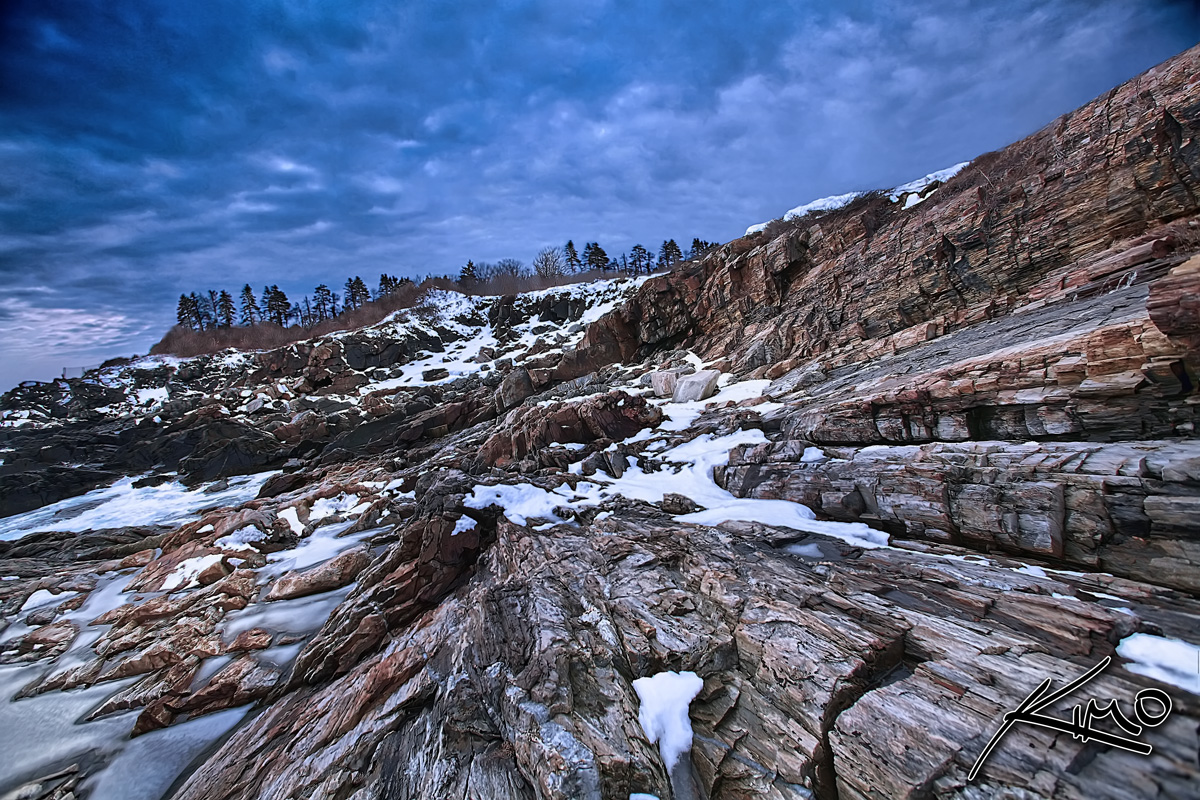
 Picturenaut’s HDR results from Cape Elizabeth impressed me so much I had to do a final version. I used Picturenaut to create this HDR image. I had to create 2 separate HDR photos because I was unable to get the results I wanted with the clouds and the foreground in one image. I then took both images and layered them in Photoshop. I mask out the parts I didn’t want from the cloud layer and used [intlink id=”542″ type=”post”]Topaz Adjust[/intlink] to enhance details in the clouds. I really wanted this image to be an absolute photograph of nature so I took out the fence and the house. Afterward I flatten and adjusted the colors and unsharpened the entire image. As simple as this image was it gave me quite a workout in Photoshop. I normal don’t spend much time in Photoshop, but when I see something in my head, I do what it takes to reproduce it.
[ad#Google Adsense-3]
| Programs & Plugins | Camera Settings |
| • [intlink id=”546″ type=”post”]Photomatix[/intlink] • [intlink id=”542″ type=”post”]Topaz Adjust[/intlink] • [intlink id=”542″ type=”post”]Topaz DeNoise[/intlink] • [intlink id=”542″ type=”post”]Topaz Clean[/intlink] • Adobe Photoshp |
Camera:Canon 5D Mark1 Lens: Canon 17-35mm f/2.8L USM Camera Mode: AV Camera ISO: 50 Aperture: f/4.0 Shutter Speed: 1/60 second AEB: +2/0/-2 |
| Original Exposures |
   |
| Download Original Exposures (ZIP File) |
| [mappress] |
