Secure payment made through PayPal using E-junkie. Both sites are verified with a 100% guarantee.![]()
Includes Everything Below…
 This 70 page eBook will teach you how to produce cool single exposure HDR portraits. I’ll show you how to create 3 different looks from one Photoshop Action that’s included with this eBook package.
 Twenty (20) minute video tutorial on how I process a full moon HDR image. Includes working files and PSD file with layers. This is a video on post processing only. I will do a separate video on getting the exposure soon. Click here to watch the intro.
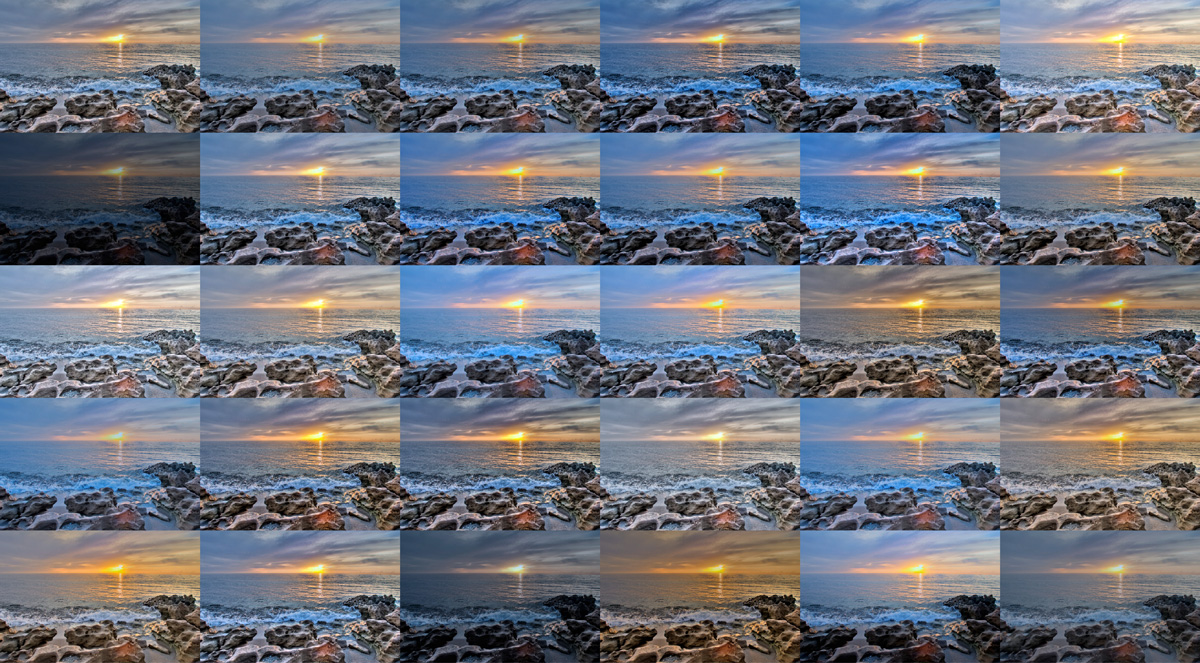
  Twenty (20) minute video tutorial on how I process an HDR Panorama image. I’ll show you how to stitch a Pano in Photoshop and batch process HDR in Photomatix. Click here to watch the intro.
  Fifteen (15) minute video tutorial on how I add clouds to an Eagle in-flight photo to create a single exposure HDR image. I’ll show you how I process and create pseudo HDR images in Photomatix Pro. Click here to watch the intro.
 MORE ABOUT…
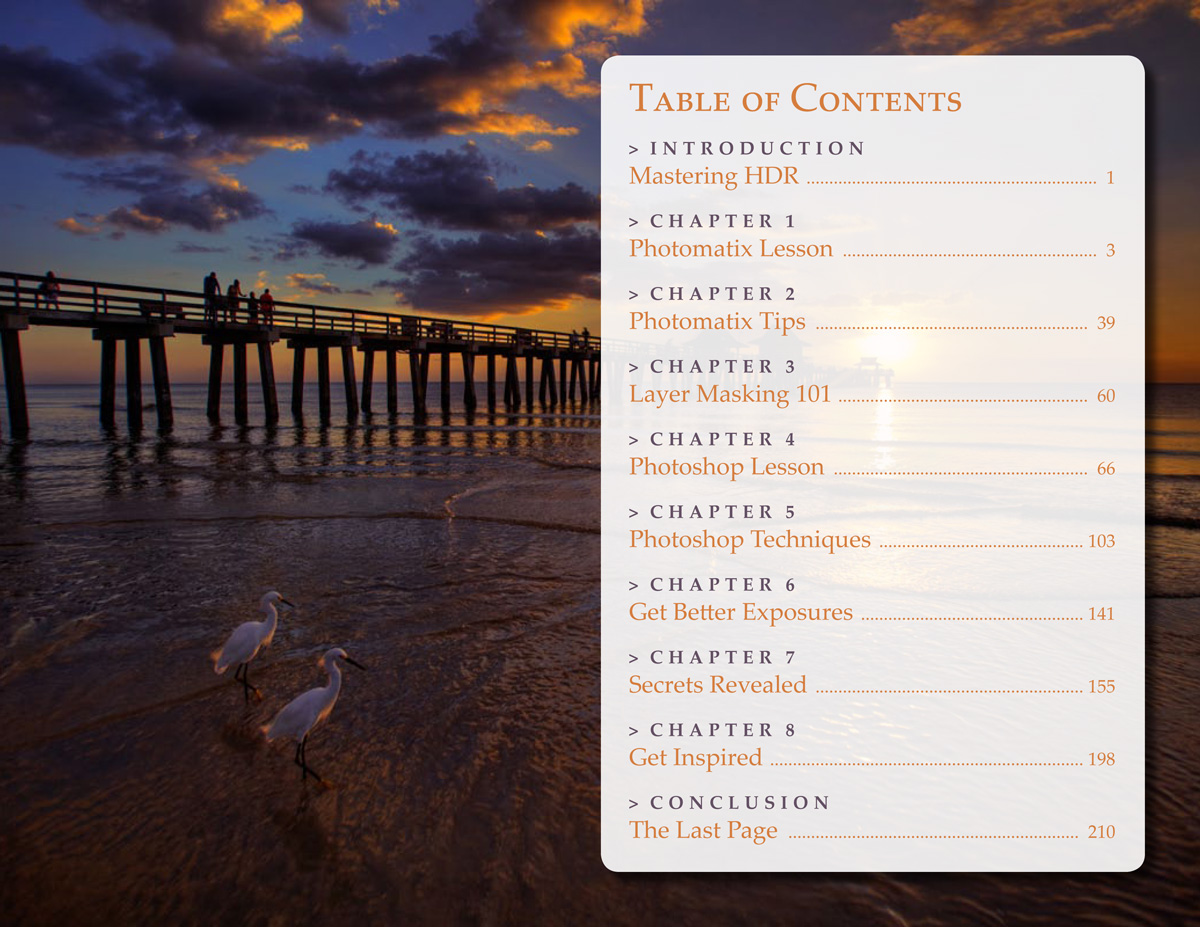
Secrets to Mastering HDR Photography
- Create Breathtaking HDR Images
210 Page eBook – View Table of Contents - Step by Step Lesson
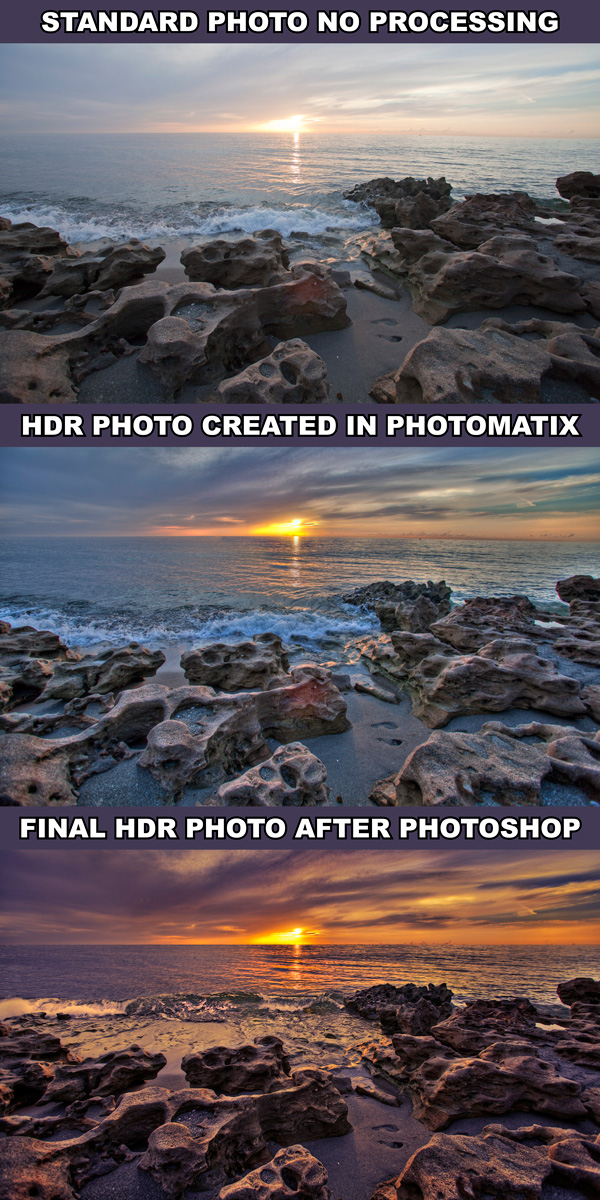
One Complete Lesson – View Before & After & Exposures - 6 Photoshop Actions
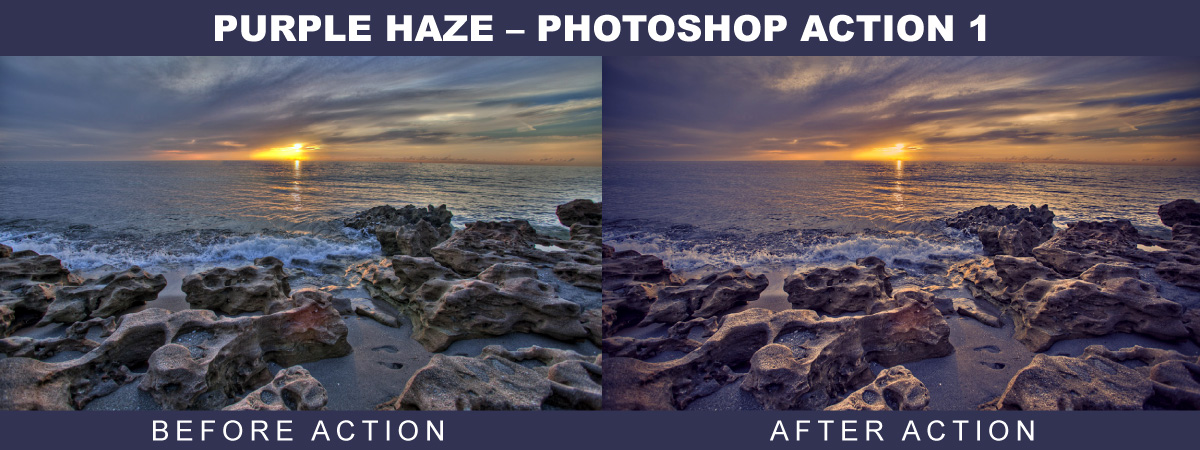
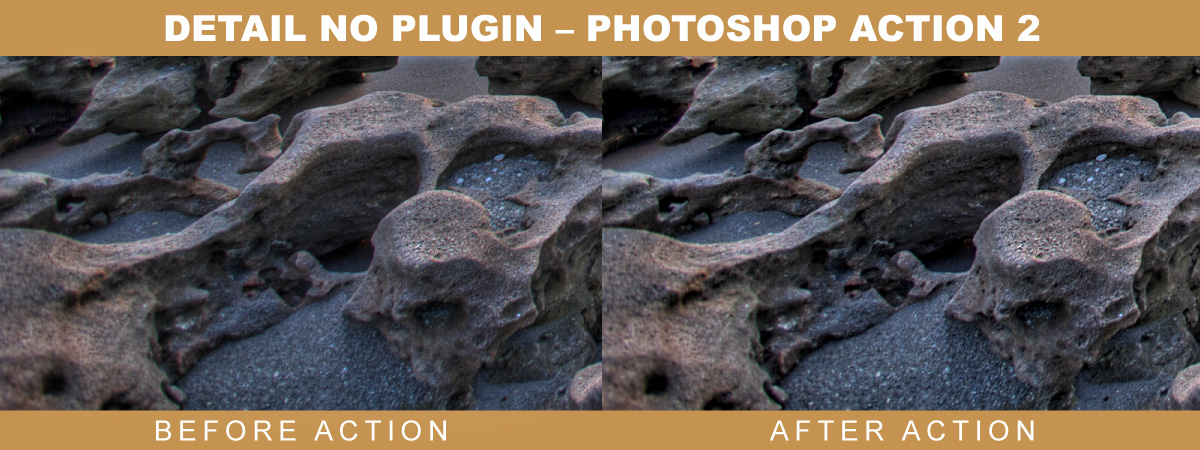
View Actions; One, Two, Three, Four, Five & Six - 30 Photomatix Presets
Tone Mapping Presets – View Presets

MORE ABOUT…
Captain Kimo’s HDR Portrait eBook
- Produce Single Exposure HDR Portraits
eBook with 70 Pages, Guide and 3 Tutorials - Photoshop HDR Portrait Action
Require Topaz Photoshop Plugin Bundle - Photo-Stylize Tutorial
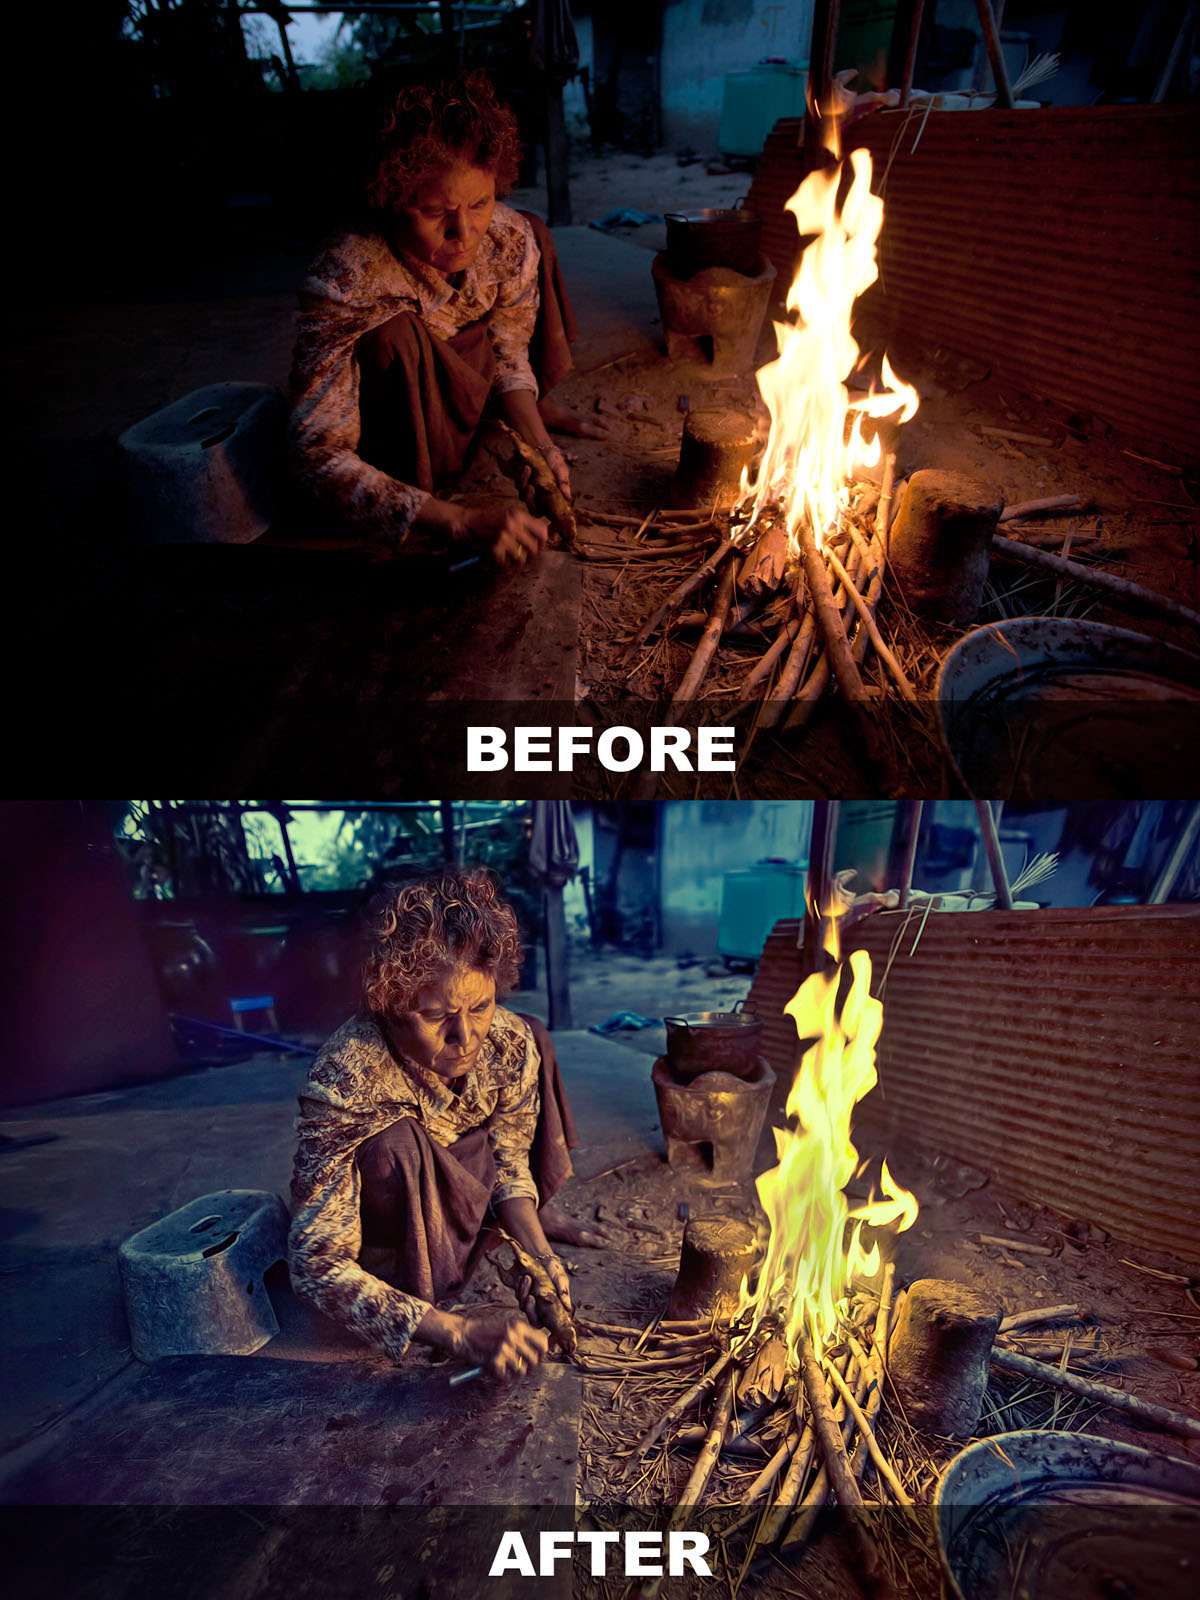
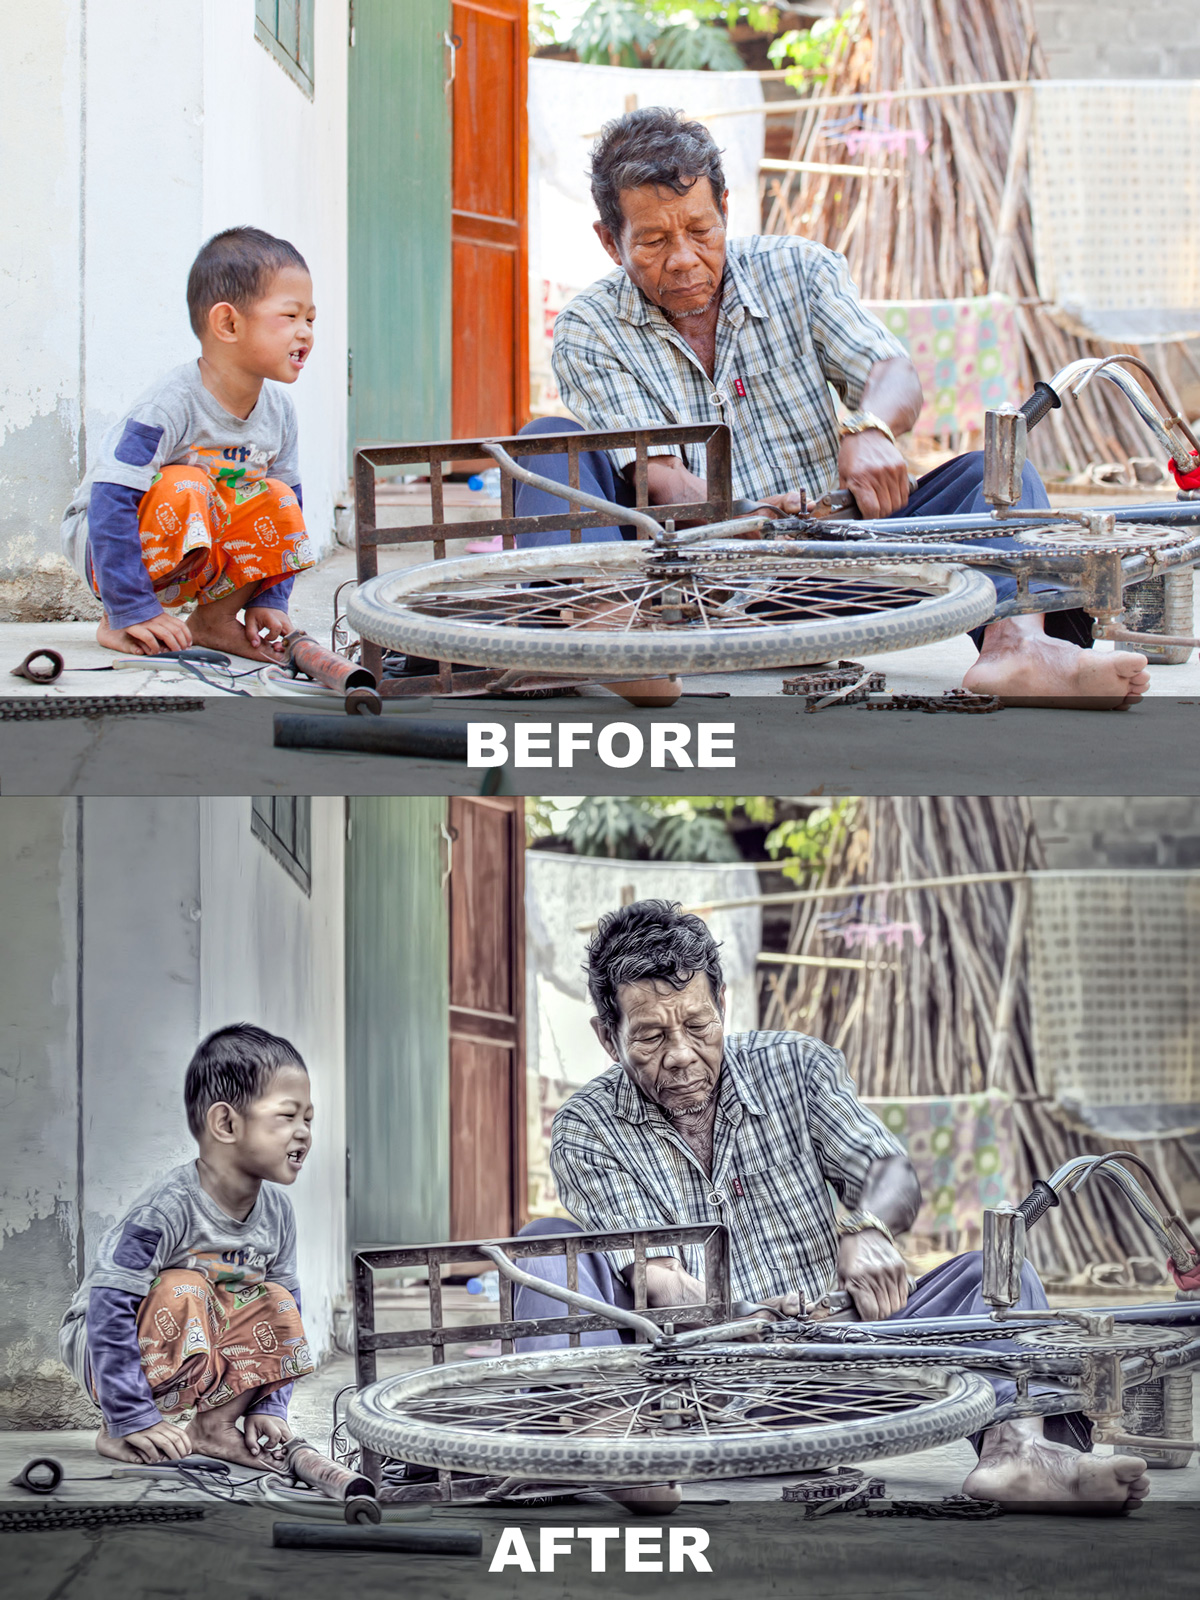
Tutorial for Creating Stylized Photos – View Before & After - Photo-Illustrative Tutorial
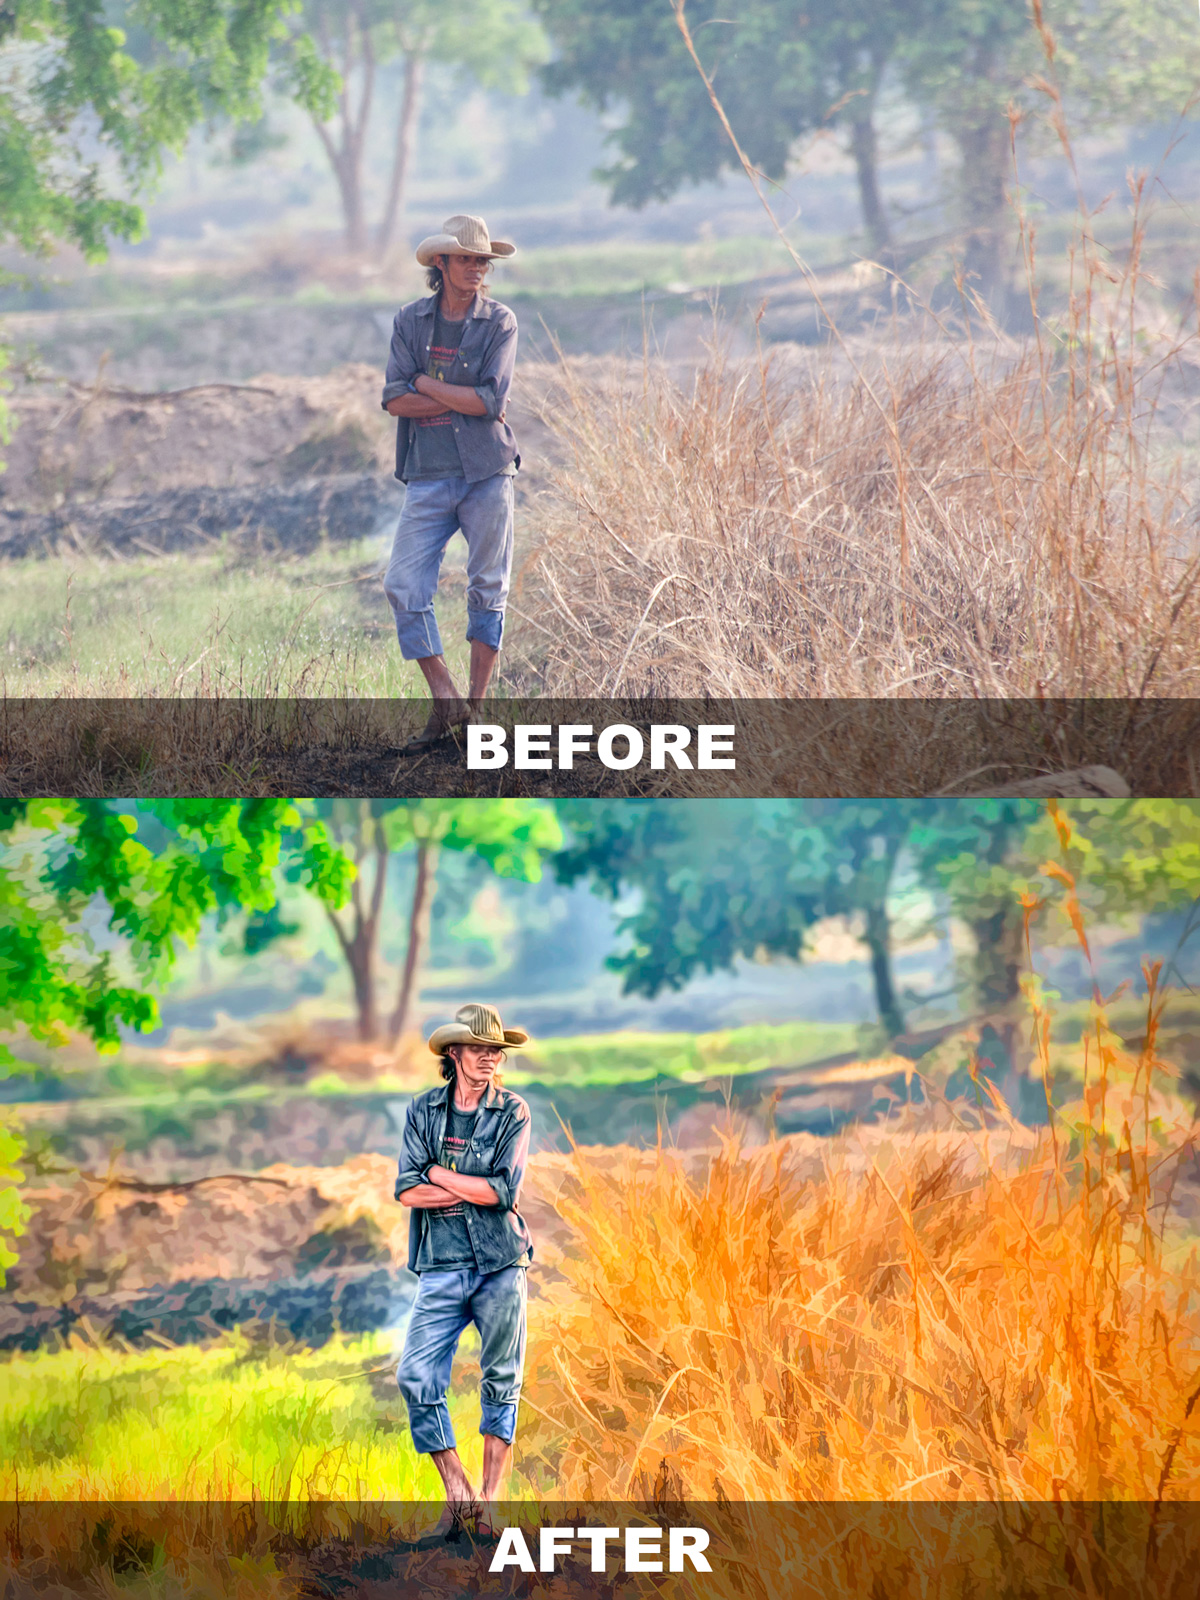
Tutorial for Creating Illustrative Photos – View Before & After - Photo-Artistic Tutorial
Tutorial for Creating Artistic Photos – View Before & After - 18 Photomatix Presets
Presets for Tone Mapping Single Exposure RAW

MORE ABOUT…
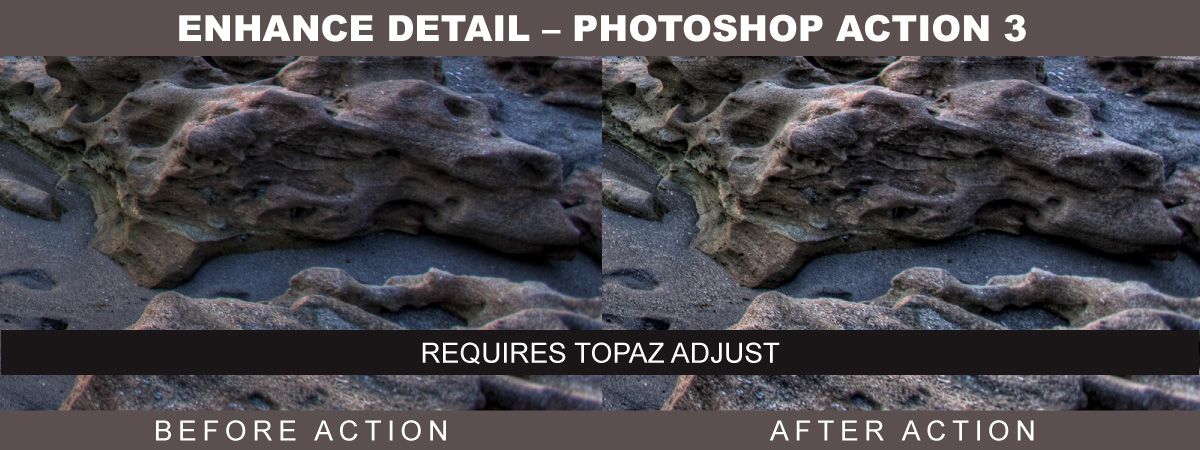
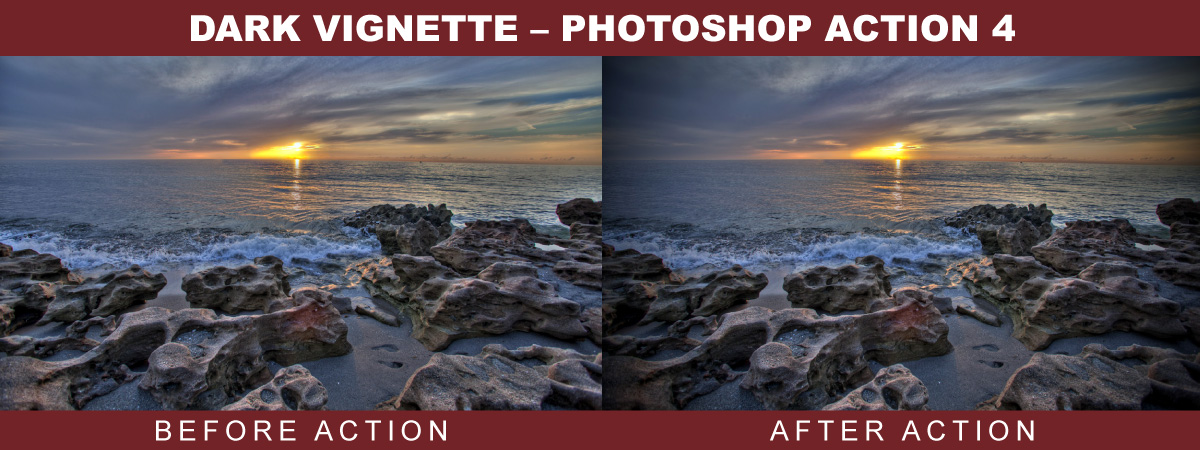
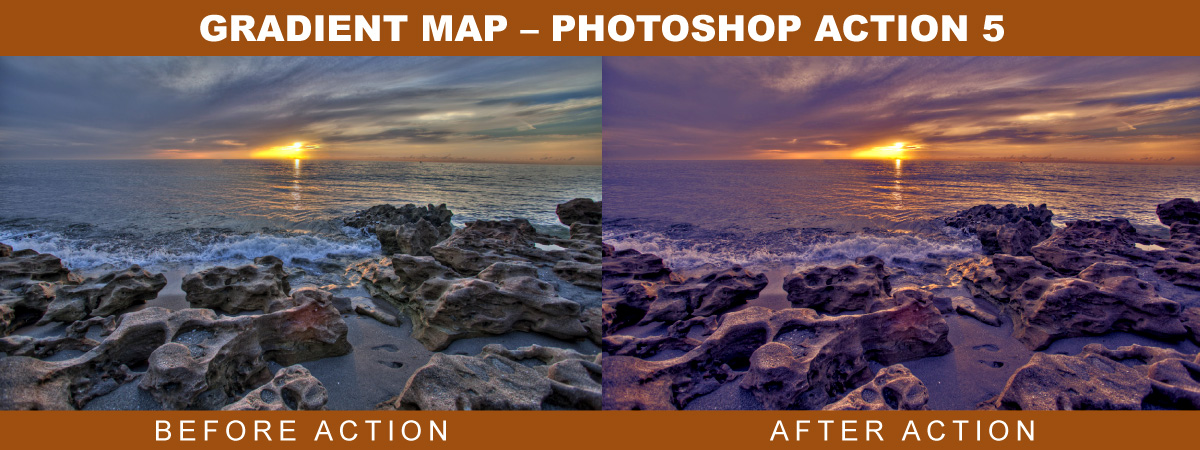
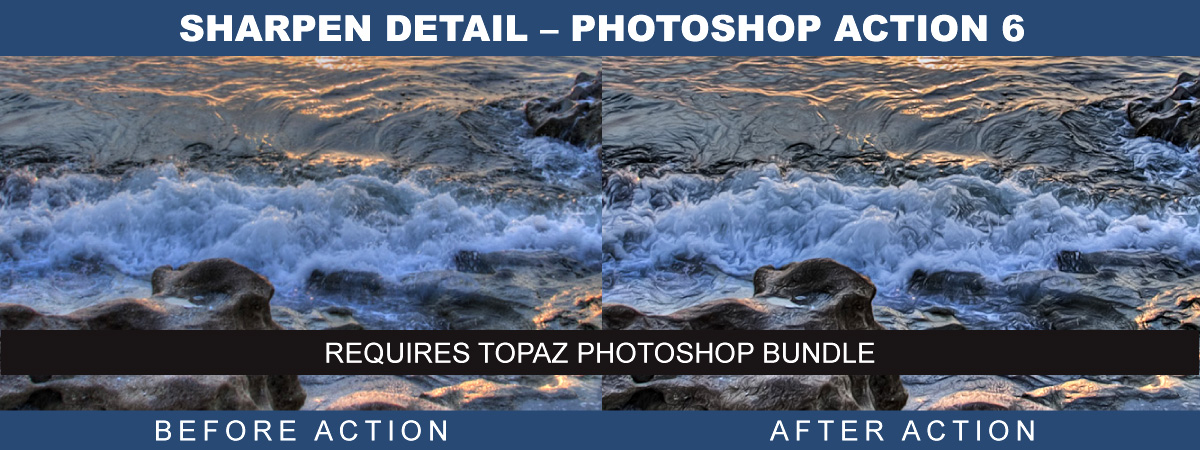
Captain Kimo’s Photoshop Action
- Photoshop Action by Captain Kimo
Requires Topaz Photoshop Bundle - Simple One Click Play
Simple to Use on Any Image - Step by Step Guide
Easy to follow instruction for using action. - Easy Customization
Layer adjustment makes customization simple.
Photoshop Action Before and After Images Below.


MORE ABOUT…
Creative Texturing by Captain Kimo
This 64 page eBook has three lesson on how to texture your HDR photos. There is also a fourth lesson that will show you how to create your own textures. This eBook includes 100 premium textures for you to use on your own images.

Who are these eBooks for?
 If you use Photoshop CS or Elements for processing and would like some killer tips to improve your images… then these eBooks are for you!
- If you need a better understanding of Photomatix Pro and the tone mapping options… then these eBooks are for you!
- If you want to spice up your HDR images using Photoshop…then these eBooks are for you!
- If you have the Topaz Photoshop Bundle and want to learn cool ways to use them… then these eBooks are for you!
- If you’ve ever wondered how I produced any of my photos… then these eBooks are for you!
“If you want a lifetime of knowledge at no extra cost…
then these eBooks are for you!“
Rob Hanson from robhansonphotography.com writes about Captain Kimo and his eBook.
I first encountered Kim “Captain Kimo” Seng by the recommendation of a mutual friend who said that Kim was freely sharing tips and techniques on his website. Sure enough, on one of my first forays to Kim’s site, I picked up several valuable techniques that I still use regularly.
Since then, I’ve been a steady admirer of Kim’s outstanding HDR work and a frequent visitor to his site. I never walk away empty-handed, as Kim keeps putting his work, his ideas, and his personality ‘out there’ for all to see.
Today’s HDR marketplace is packed full of websites, blogs, and tutorials, and amongst these there are a few people who have risen to luminary status within the community. To get to that level, one has to have solid and consistent output, a steady visible presence, and be willing to share information freely with the rest of us. Kim has all three of those qualities.
This ebook is packed with goodies and information that will be useful to novices and more experienced HDR photographers alike. (I was taking notes while reading it.) Unlike some offerings in the marketplace, this ebook ‘over-delivers’ information relative to its affordable price, and that’s the Captain Kimo I’ve come to know. The tutorials are clear and concise, and the photographs are beautiful. In the book, Kim says that he’s always adapting and innovating, seeking to improve his photography. It’s hard to imagine, but if he does, I’m sure he’ll let us know how it’s done, and that’s a beautiful thing in its own right.
-Rob Hanson
robhansonphotography.com
What other shutterbugs and HDR lovers are saying about, “Secrets to Mastering HDR Photography.”
“I highly recommend this eBook. Excellent work on all levels. Information is thorough, user friendly and well written. Use of typefaces is professional. Design and layout is professional, clean, and easy to follow. Also pleasant use of white space.”
-Linda King- Designer/Photographer
palmbeachcreative.com
“Very informative and professional. I think you did a great job and I’m not just saying that.”
-Bruce W.
sunnystatephoto.com
“You have written an exceptional eBook. I have read several books on processing HDR photos but your book has risen to the top. I am recommending it to our photo club as must reading. You should submit it to a publisher.”
-Tom
“Kim, this is so well done!!! I love the amount of detail and step by step information you put into this. I love your dedication!!! It shocked me at first, but in a good way. Love it!”
-Sue
“Truly, I’m VERY impressed. Love the layout and simplicity of the instructions. I’ve read a number of HDR books and your book is super easy to follow, especially for those who are new to this.”
-Tammy
“I have every hard copy book, every ebook and every DVD I could find on HDR and yours is by the far the best I’ve seen. What I like about it most, is the detail and explanation you go into on each step in the final HDR process.”
-Glenn
About the Author
 I’ve been post processing images for over a decade. I graduated from the Art Institute of Ft. Lauderdale receiving Best of Portfolio with a degree in Computer Graphics and Animation. Since 1998 I’ve worked professionally as a graphic artist, web designer and illustrator. Currently, I work as a freelance landscape/travel photographer earning commission through my photos. My blog captainkimo.com is dedicated solely to the art of HDR photography. I update this blog regularly with photos, tutorials, articles, and reviews… all of which is related to high dynamic range photography.
Captain Kimo’s Guarantee
 I know I can’t please everyone. If for any reason you are unhappy with your purchase, I will refund you your money back. To receive Captain Kimo’s guarantee, you must request a refund within 30 days of purchase.